Official website

Showing posts with label examples. Show all posts

Tuesday, May 19, 2015

Inexpensive Z-Wave gateway using a Banana Pro and a RaZberry daughter card

Lately Jubito grows its family by contributions of individuals and vendors and I thank them in public each time I make a reference. More details in social networks e.g.: facebook.

Every piece of hardware I received has an interesting aspect that opens a new challenge to the Jubito ecosystem. For example, Z-Wave integration. An interesting technology, but still, a little bit expensive.

While I'm studying the Z-Way JSON API that allows to execute commands on server side using HTTP GET/POST requests, I'd like to share some early developments for those who want to learn the basics and for the adventurous. In this post I will deal with the RaZberry module by Z-Wave.me on a Banana Pro.

Since I currently owned only one device (Fibaro wall plug) I will focus on SwitchBinary Command Class (0x25/37). The Switch Binary Command Class is used to control all actuators with simple binary (on/off) switching functions, primarily electrical switches.

Those who have experience with the module will probably have a complete understanding of what I'm talking about.

But let's take a look at some methods. The command to execute is taken from the URL. All functions are executed in form:
http://YOURIP:8083/<URL>

  • http://localhost:8083/ZWaveAPI/Run/controller.AddNodeToNetwork(1) - Start inclusion [1].
  • http://localhost:8083/ZWaveAPI/Run/controller.AddNodeToNetwork(0) - Stop inclusion.
  • http://localhost:8083/ZWaveAPI/Run/controller.RemoveNodeFromNetwork(1) - Start exclusion [1].
  • http://localhost:8083/ZWaveAPI/Run/controller.RemoveNodeFromNetwork(0) - Stop exclusion.
  • http://localhost:8083/ZWaveAPI/Run/devices[n].SendNoOperation - Refresh device list.
  • http://localhost:8083/ZWaveAPI/Run/devices[n].instances[0].SwitchBinary.Set(value) - Binary values accept 0-99 for switching off and 255 for switch on.
  • http://localhost:8083/ZWaveAPI/Run/devices[n].instances[0].SwitchBinary.data.level.value - Get the state of the device (true->on, false->off).
  • http://localhost:8083/ZWaveAPI/Run/devices[n].instances[0].Meter.data[s].val.value - Measures the amount of electrical energy in kWh that was consumed.
  • http://localhost:8083/ZWaveAPI/Run/devices[n].data.givenName.value='<A new name>' - Rename a device [2].

[1] You can include devices by pressing the 'Inclusion' button. This turns the controller into an inclusion mode that allows including a device. A led on the controller indicates this status. The inclusion of a device is typically confirmed with a triple press of a button of this particular device. However, please refer to the manual of this particular device for details how to include them into a Z-Wave network. The inclusion mode will time out after about 20 seconds or is aborted by pressing the 'Inclusion' button again.
The same applies for the 'Exclusion'.


[2] Rename a device:


Use <lock></lock> tags when you want to bypass parser and pass a URI with blank spaces as one argument.

To create an HTTP GET method as an Instruction Set for alternative use, you can move to Instructions->Add New Launcher and put your getter there. This will allow you to invoke a Z-Wave function into another Instruction Set. You can search in this blog for common actions, but I will come back later with analytical article (*).


You can review the whole object in real time to reveal all the available functions but I won't deepen on the data model -yet [ http://localhost:8083/ZWaveAPI/Data ]:


To have a human readable tree view, copy and paste the JSON object to an editor, such www.jsoneditoronline.org.


List of available devices [ http://localhost:8083/ZWaveAPI/Run/devices ]:


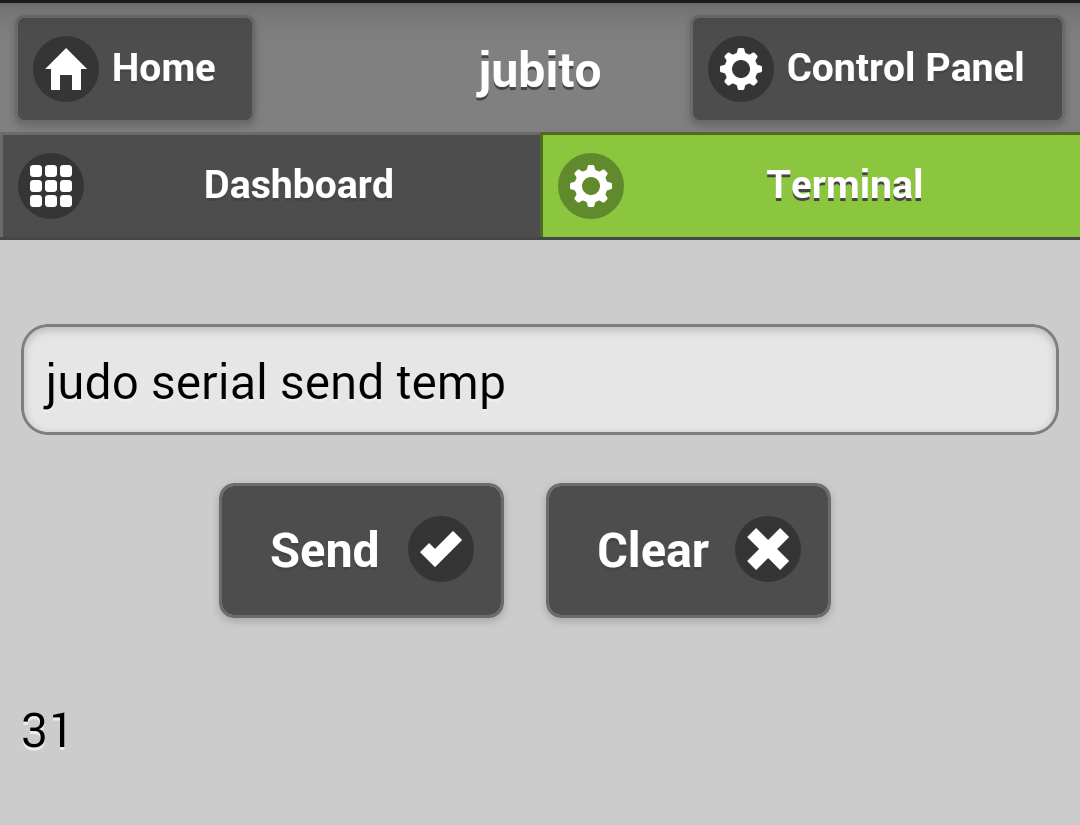
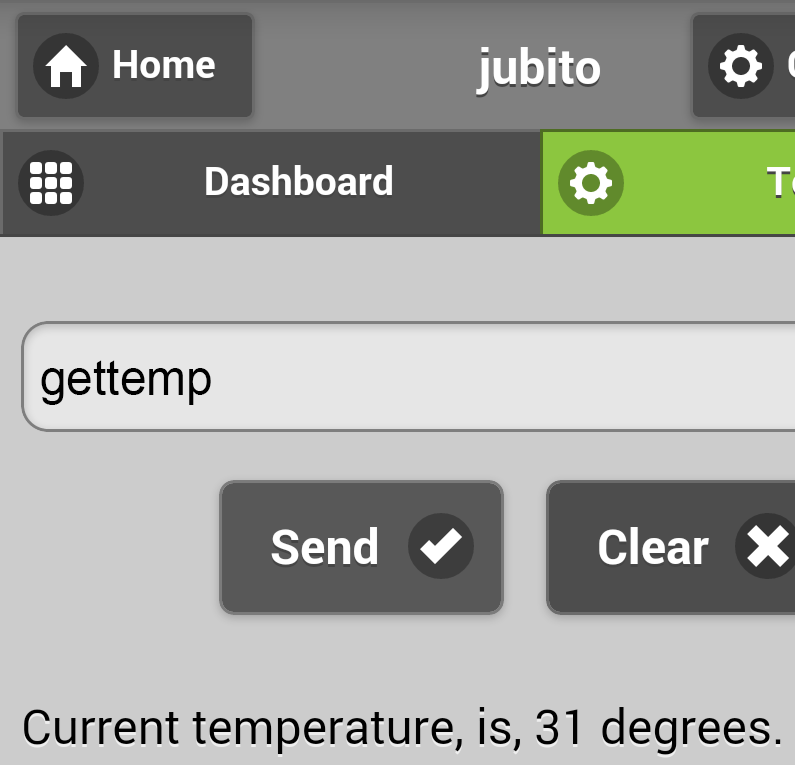
Let's stand here and see some examples on Jubito's side.
Jubito has a native API for HTTP GET method i.e.: judo http get <Request-URI>.

Try any of the above operations from the terminal.
Examples:
  • judo http get http://localhost:8083/ZWaveAPI/Run/devices[n].data.givenName.value - Gets device name.
  • judo http get http://localhost:8083/ZWaveAPI/Run/devices[n].instances[0].commandClass[37].Set(255) - This will switch on the plug. It is equivalent to http://localhost:8083/ZWaveAPI/Run/devices[n].instances[0].SwitchBinary.Set(255) or .Set(0) to switch off.


That was a quick introduction to the Z-Way API. Before you get confused, Jubito comes with a simple interface that implements the basics like, inclusion, exclusion and list of available devices with their actions (on/off), including some additional information.
While is still beta, I won't add a link on the menu button yet, but you can navigate to z-index.html:
http://<host>:<port>/www/z-index.html


Please make sure you have the latest version [0.2.8.299]:


(*) Let's consider this post as the first part of a Z-Wave session. In future articles I will present ways, on how to use a specific function, on a custom Instruction Set, and how these can interact and expand functionality and logic by other mechanisms, including evaluations and schedules.

Monday, March 16, 2015

More effective dashboard with real time data

In order to achieve a fully dynamic front end, I started working on a widget factory. The combination of two different Instruction Sets will give us the ability to view additional real time info within a dashboard item in a bubble form.

I will proceed by doing a simple example using framework functions (%greader% or %gmailreader% and %gcount% or %gmailcount%). The first will return the headers of the message(s) and the other one will be the counter.

Go to Control Panel->Add New Launcher and follow the screenshots...


Now we'll create a new dashboard item that includes both of the above.
Navigate to Control Panel->Add New Instruction Set


Scroll down to Add to Dashboard and fill Category, Header, Thumbnail (optional) and Reference field.


Save it and return to the Dashboard. You should be able to see something like that...


When you click Gmail Check you will get the response of gmail launcher.


For older Instruction Sets, edit the AppConfig.xml and add a reference attribute (ref) that points to the Instruction Set ID you want to call. For this example, gmailwidget.


You may notice temperature and humidity values as well in the screenshots. It has the same logic but first you should take a look at arduino tutorials.

Monday, June 23, 2014

Asynchronous operations triggered by arduino serial data

Another interesting and useful thing to know about Jubito is that its continuously monitor the serial port where arduino is connected. That allows as to control any message that arduino prints out. There is two ways to use that kind of data. One is by creating a new instruction set, which explained in this post, and the other one is by firing events. The second way is very efficient for asynchronous operations such as motion detection.

Let's make an example.


The above screenshot illustrates a MotionDetected message captured from a PIR sensor. In order to trigger an event or a sequence of actions we have to create a handler with the same name.

On Control Panel select Instruction Sets/Add New Event Handler


Then give the corresponding serial message as the name of the event handler


Action's can be vary depending your needs. In this example I will create a simple email notification. In the action field type...

judo mail send me@gmail.com me@gmail.com `Motion Alert` `A motion is detected at %calendardate% %time24%`

This will produce a message that would tell...
A motion is detected at 23/6/2014 14:07

Syntax of judo mail send API call...
judo mail send <from> <to> `<subject>` `<body>`

Read more about functions & judo API

To avoid signaling you every time that motion is detected you can use %whereami% function within evaluation which is explained in this complete example of security system.

The bottom line is that we can produce a variety of asynchronous operations that would be driven by received serial data.

Wednesday, May 7, 2014

Jubito media center

As we explained in Instruction Set Anatomy post, Jubito can run other system processes (programs) with ./ (dot-slash) indicator in order to fetch the result and use it to synthesize a new custom instruction set.

In this example we'll use the above method to organize our favorite movies in one group and use Jubito as a remote control.

First let's see the syntax of the ./ -dot-slash

./'[program path]' '[arguments]'

Calling a program with no arguments will be like...

./notepad.exe or ./'notepad.exe'

Single quotes are not necessary when we make a call without arguments.

In the case of our media center example, we'll use the vlc program with extra arguments, such as -f for start in full screen and the path of the movie. This should be like...

./'C:\Program Files\VideoLAN\vlc.exe' '-f "C:\Downloads\movie.mp4"'

You can test the path before creating it from the run command like this...
C:\Program Files\VideoLAN\vlc.exe -f "C:\Downloads\movie.mp4"


After that you'll be ready to make your own Instruction Set list!


Please make sure that you enclose your executable and arguments in single quotes ('). It is mandatory for the system to split it up correctly. Double quotes (") are used for the file path.


So, that was it. You can now remote control your favorite movies or any other application by using this method.

A blast from the past... :)

Wednesday, May 1, 2013

Posting actions via qr code

For simple understanding on how to use RESTful commands, let's make a dummy example with a QR code.
If you want to post to the server over the web, go to your favorite qr code maker (http://goqr.me/) and select URL. Type your Jubito hostname including the REST style command (/index.html?cmd=<your-custom-instruction set>). When you scan the QR code, the corresponding action will be executed.


On your home network you can use a TCP socket. Check this post to see how to setup a TCP socket to listen for network data.
Syntax... http://192.168.1.90:5744/<your-custom-instuction-set>. Just make sure that you have include the senders IP to the trusted list in XML file.


By using a socket you can also access via telnet.
Syntax telnet 192.168.1.90 5744

See also Communicate over a TCP socket

Tuesday, March 5, 2013

Scheduling tasks

Another important tool is the Scheduler. It can be formed as a simple notification, a hierarchy of tasks or as a daemon.

Scheduler Parameters 
Name: a schedule handler.
Date: when an action doesn't need to be repeated and removed from schedule when completed.
Or
Periodically
    Daily - action takes place every day at specific hour
    Workdays - action takes place from Monday to Friday at specific hour
    Weekend - action takes place every Saturday and Sunday at specific hour
    Specific day {Sunday, Monday, Tuesday, Wednesday, Thursday, Friday, Saturday} - action takes place from day specified at specific hour
    Repeat - a repeated action that takes place at a specified time in milliseconds
Action: a simple sentence or an instruction set call


Let's see some examples.

A simple notifier that inform us daily at 9am to take out the trash.


A daemon that check every 5 minutes for unread e-mail messages.


Corresponding Instruction Sets.


Scheduler can fulfill a number of scenarios like, wakeup call (ask me to wake up work days at 7am, tell me weather conditions, turn on the room light), automation control (turn off garden lights daily at 11pm) or check-out after 10am when I'm living for work, etc.

Wednesday, February 20, 2013

Simple interface example with arduino

In this post we'll explain how to interface and access an arduino project over the internet or by LAN. In the following screenshot I'll display some actions that my arduino does.

For example, the sketch print MotionDetected to the serial port when PIR sensor detect motion, take illumination conditions on light command, read RF data from a remote control in order to transmit back to the corresponding device, and display the temperature when temp command is called.

Find out more on arduino tutorials

Let's make a simple paradigm with temp.


So, when temp command is sent to the serial monitor arduino returns the current temperature (1st screenshot). To create an interface, go to Control Panel/Instruction Sets/Add New Launcher. Enter a name (handler) and judo serial send <command> API call to transmit temp command to the serial port.


To make this action available to the dashboard, go to Control Panel/Instruction Sets/Add New Instruction Set and follow the screenshot.


We always put the asterisk (*) token before a launcher to invoke it and retrieve the return value. In this case temp should be described as *temp. Save the above example, go to the Dashboard, refresh the page and you'll see the new command we just create.


This is the result when it clicked. It will replace the *temp action with the value that arduino returns.


For further debugging, launchers and instruction sets can be tested via terminal tab.


In the same way we can make our security triggers, control appliances remotely, etc. More examples will follow.