In this tutorial we will measure the surrounding air to get temperature and humidity.
What we need:
After wiring module to arduino,
download and install DHT lib. To do so navigate to
Sketch/Import Library/Add Library
After installation is complete it will appear in library list.
Upload the sketch using codebender
Alternatively
download the sketch and upload it to arduino.
Depending what sensor you use, change the line accordingly.
#define DHTTYPE DHT11 or
#define DHTTYPE DHT22
Open serial monitor and type any of these commands ("dhttemp" "dhttempc") to get temperature and ("hum" "humid" "dhthum") for humidity. You can change the sketch to your preferences by changing the lines...
if (readString == "dhttemp" || readString == "dhttempc")
...

else if (readString == "hum" || readString == "humid" || readString == "dhthum")
Interfacing with Jubito
First make sure you have properly
configure arduino serial port and then enable it.
From Instruction Sets menu press Add New Launcher. Enter a name (handler) and type the following command...
judo serial send dhttemp
The same way to make a launcher for humidity...
judo serial send hum
You can test the new launchers by typing the command to the terminal tab.
Dashboard Interface
We can now add it to our dashboard. Navigate to Instruction Sets menu press Add New Instruction Set and fill the mandatory fields (name, action, category, header) and some optional if you desire, e.g. Thumbnail URL.
Notice that in action field we add an asterisk in the beginning. It is used to point the gettemp launcher.
Another cool feature is that you can have those notifications in the Home screen. To do so you have to edit index.html file located to /www/ directory. Find the getData function and add the code...
$.get('_.html?cmd=judo serial send dhttemp', function (data) {
$('div#tempc').html(data.replace('<br /\>', '') + '°C');
}, 'html');
$.get('_.html?cmd=judo sleep 1500; judo serial send hum', function (data) {
$('div#humid').html(data.replace('<br /\>', '') + '%');
}, 'html');
Make sure that
tempc and
humid divs exists in the html document.
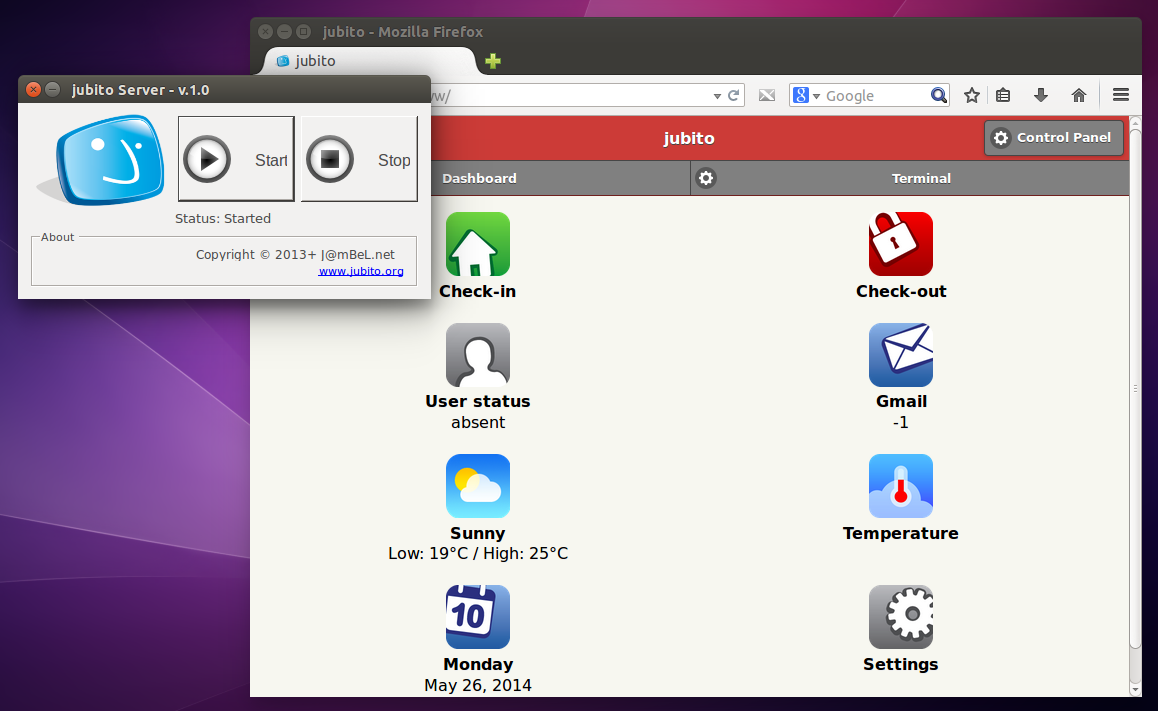
The result should look like the screenshot below.
You can expand by applying logic with
evaluation function.